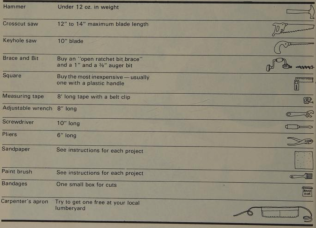
Why Let Kids Play with Tools?? Danger!!
Mathematics and measurements are not just about cooking, but all kinds of activities - Teach safety first and watch the games begin!
Working with wood offers numerous benefits for a child's development. It fosters both gross and fine motor skills as children manipulate tools and materials. Additionally, woodworking activities enhance hand-eye coordination, requiring precise movements to achieve desired outcomes. Beyond physical benefits, woodworking also nurtures spatial reasoning and problem-solving abilities. As children learn to measure, plan, and execute projects, they develop a deeper understanding of three-dimensional space. Moreover, woodworking can spark creativity and imagination, providing a platform for self-expression and exploration.
Hand Eye Coordination
 Hand eye coordination skills that are meaningful are hard to come by. This particular type has the added benefit of teaching a life skill and right tool for the job.
![]() Activity! A Place For Each
As a first activity, set up a pegboard and have child trace each tool. Explain - this is where each tool will go when we finish using it. Take all the tools off and then ask child to place the tools back.
Activity! A Place For Each
As a first activity, set up a pegboard and have child trace each tool. Explain - this is where each tool will go when we finish using it. Take all the tools off and then ask child to place the tools back.
![]() Activity! Missing Piece
Play a simple game of guess who is missing - while doing some other activity, remove one tool. See if child can recognize the missing tool.
Activity! Missing Piece
Play a simple game of guess who is missing - while doing some other activity, remove one tool. See if child can recognize the missing tool.
![]() Activity! Geoboard
Activity! Geoboard
On a 25cm sturdy piece of wood measure and draw lines to create a 10 x 10 grid (large) or 5x5 (small). At each corner of each box place and hammer in a nail (2.5cm)
![]() Activity! Knitting Loom
Activity! Knitting Loom
Determine the desired size of your knitting loom and mark out a grid on the wooden board using a pencil and measuring tape. A distance of 1 inch between nails is a good starting point. Carefully hammer the nails into the marked grid points. Make sure the nails are hammered in securely and that they are all at the same height. Learn to cast on and off you knitting loom!

Understanding Numbers
Teaching children how to use a measuring tape is a crucial step in woodworking projects. Accurate measurements ensure the success of the final product and help develop essential mathematical and spatial reasoning skills. By guiding children through the process of using a measuring tape, you can foster their confidence and competence in woodworking. Start by demonstrating how to hold the measuring tape correctly and read the markings accurately. Encourage children to practice measuring various objects around the house, gradually increasing the complexity of the measurements. As they become more proficient, incorporate measuring into their woodworking projects, emphasizing the importance of precision in achieving desired results.
![]() Activity! Cutting Board
Activity! Cutting Board
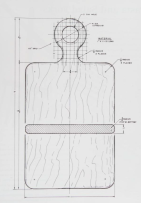
Start simple! Measure, cut, drill and coat.
![]() Activity! Coaster Car
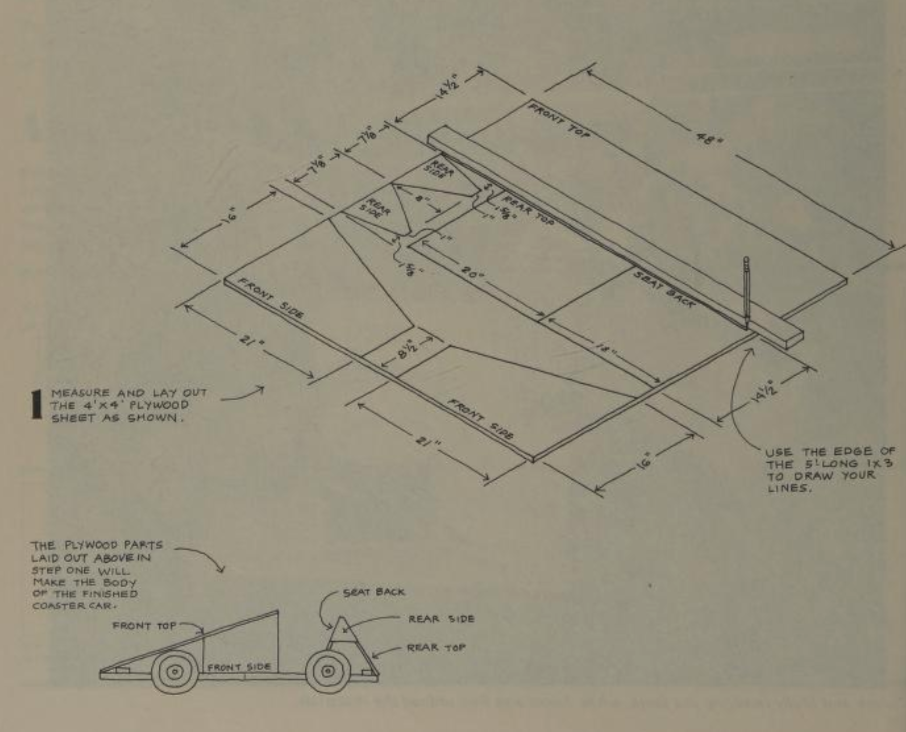
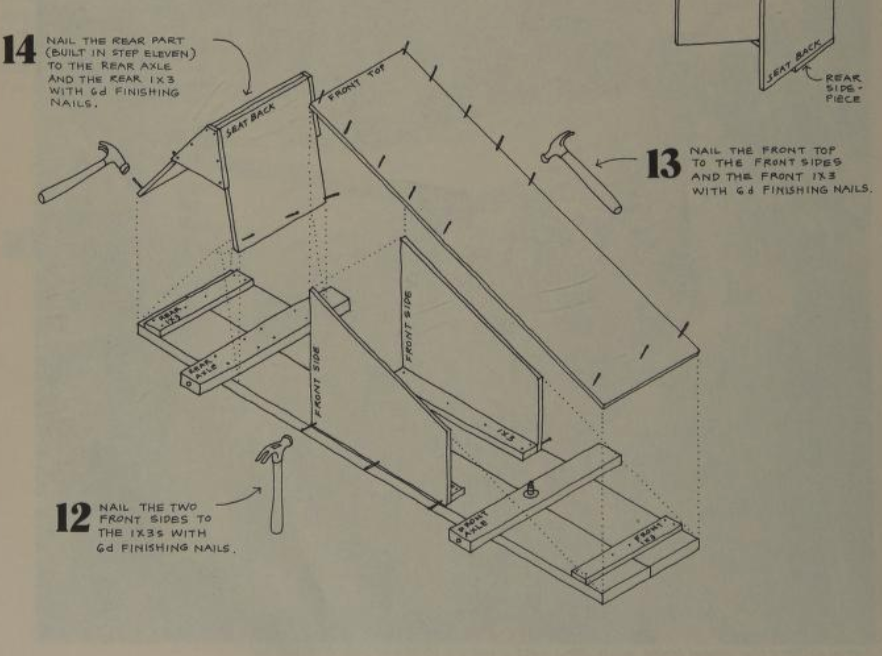
Activity! Coaster Car
![]() Activity! Scooter Board
Activity! Scooter Board
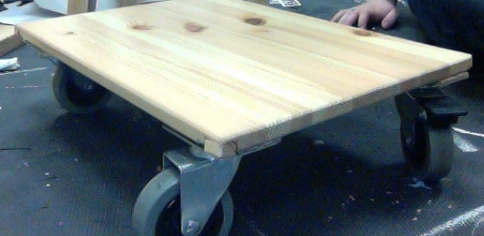
You need to purchase the wheels. Cut the board based on how big you are! Make sure the wood is thick enough to hold the screws you will use for the wheels. Mark where to put the wheels, drill, screw in the wheels. Test out the board!
![]() Activity! Slide
Activity! Slide
(Parents' permission needed!) Create a wooden stair slide. The first challenge is how big to the buy the wood. Measure your stairs. Purchase or find plywood the length and width you need. Do not attach the slide!! For safety you could cut a slit into some pool noodles and attach it to side of the slide that is not touch the wall.
![]() Activity! Wood joined with wood
Activity! Wood joined with wood
This technique requires very precise measurements that fit one in another. If you make a mistake, it won't work! Start with just one part that is connected in this way to make something simple like a toy.
3-Dimensional Thinking
![]() Activity! Pyramid Puzzle
Activity! Pyramid Puzzle
You can use any shape, cut into parts, but here is a pyramid puzzle to make!
![]() Activity! Whittle
Activity! Whittle
Try a whittling project, Consider making something as simple as a spoon to more complex reliefs
![]() Activity! Scrap Wood Boats and Cars
Activity! Scrap Wood Boats and Cars
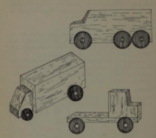 Start by drawing some cars and boats. Collect your materials. What will you use for wheels? What will you use to attach each piece? How many pieces should each project be?
![]() Activity! The Water Tower
Activity! The Water Tower
To make water move using wood, cans, sink, nails and hammer.
![]() Activity! Book Holder
Activity! Book Holder
Challenges
![]() Activity! Bird feeder Challenge
Activity! Bird feeder Challenge
Consider the many shapes, sizes and ways in which bird feeders stand and look - on paper design your own. Cut out and make the bird feeder. Post your results #mademyownfeeder
![]() Activity! Foldable
Activity! Foldable
Draw out and think about the foldability of the wooden product. What will it look like folded? What will it look like open? Create your table (called a hutch), cabinet, chair, stool, ladder or what have you and post it at #foldablewoodchallenge
Router Forums Folding and Bending Wood Bending Wood.pdf
![]() Activity! Outdoors
Activity! Outdoors
Things placed out of doors have to go protected from the weather - try designing a wood structure that young children could climb or play in or on, that takes where it will be placed into consideration so that it lasts a long time. Try to think of ways to allow for things to grow on it, for insects to live in it- without making it less attractive to humans!

